Settings to change:
Squirts Per Engine Cycle: 1
Injector Staging: Simultaneous
Sequential Injection: Sequential/Semi-sequential
Timing Trigger: End-of pulse
Fixed Timing or Table: Fixed Timing
Fixed injection Timing 1(deg): -350
Cranking Injection Timing 1(deg): 360
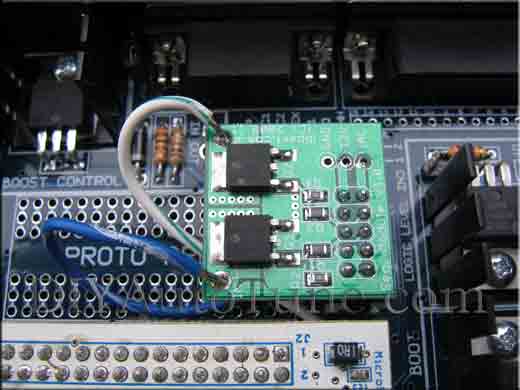
Injector Drivers: Additional drivers
k?
k!
When I was running batch, I used to hear that the injection timing is not right, but I couldn't do anything about it, now I can !
"Fixed injection Timing 1(deg)" will let you choose the deg you want the injector to shoot, you want it to shoot when the intake valve is closed.
You can play around with numbers, -350=370 if it makes it easier for you.
A full explanation can be found here:
http://www.jbperf.com/sequential/index.html
And here:
http://www.extraefi.co.uk/Seq_MS2.html
Make sure you use the numbers I gave or from DIYAUTOTUNE (which are the same).
Another thing, "Fixed Timing or Table", fixed timing of ~-350 will work, but a table with changing injection deg will work better (less fuel will be used)
This is the table I came up with:

This table works ok, if you want it perfect you need to tune it on a dyno.
Another advanced option, is "VE trim tables", when you enable this you can trim each injector in order to reach the same AFR/EGT on all cylinders...
I think you need 4 widebands/EGT for that.
After I finished installing and tuning seq inj, I've found out:
1. I need less fuel in general on fuel map - lower VE.
2. I don't need AE for now... (!) on the little tune trip I made I disabled AE and noticed car runs great ! (I will keep an eye on this)
3. Smoother idle - more accurate.
4. Better throttle response all around.
Thank you for reading !
Drop a comment !
Be safe !
Next:
Barometric correction for 14$